Opening the Main housing of the Swift UV
Step 1: Loosen the two recessed screws on the right side of the Swift UV's main housing with the provided Phillips screwdriver and rotate the main housing open (Figure 01. and Figure 02.).
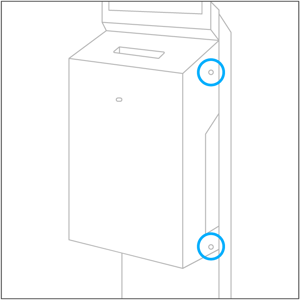
Figure 01.
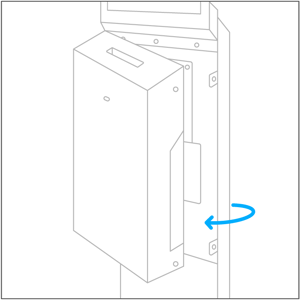
Figure 02.
Step 2: Turn the power switch to the "OFF" position (O).
Accessing and replacing the LED modules
Step 1: With the main housing open, ensure the power switch is in the "OFF" position (O) and loosen the two thumb screws on the right side of the disinfection chamber. Rotate the fan duct out (Figure 03.) then rotate the disinfection chamber open revealing the backside of the unit (Figure 04).
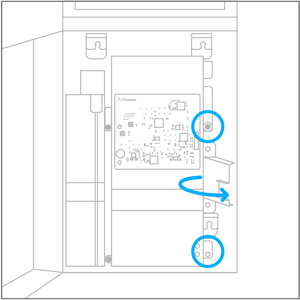
Figure 03.
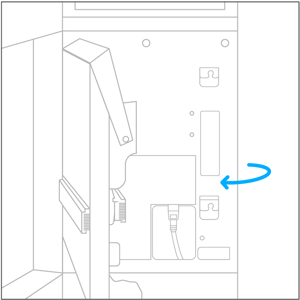
Figure 04.
Step 2: Slide the LED modules out towards the right (Figure 05.).
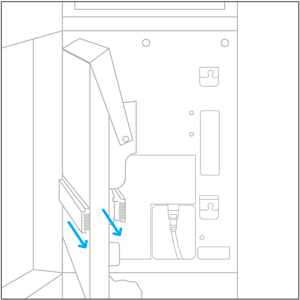
Figure 05.
Step 3: Reverse the previous steps to install the new LED modules and close the unit.
Accessing the inside of the disinfection chamber
Step 1: Rotate the hand knob counter-clockwise until the elevator reaches the bottom (Figure 06.).
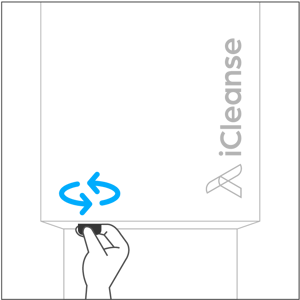
Figure 06.
Step 2: With the main housing open, and the power switch in the "OFF" position (O), rotate the fan duct out (Figure 07.) then open the disinfection chamber (Figure 08.).
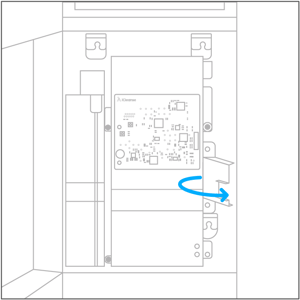
Figure 07.
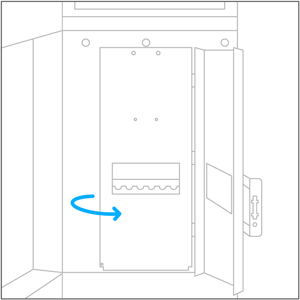
Figure 08.
Step 3: Reverse the previous steps to close the disinfection chamber, ensure the two back push pins on the left of the unit are pushed in completely (Figure 09.) and close the unit.
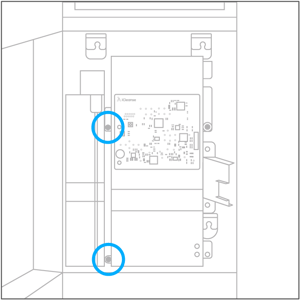
Figure 09.
Cleaning the inside of the disinfection chamber
Step 1: Using a soft lint-free towel and a 70/30% Isopropyl Alcohol solution, gently clean the inside of the disinfection chamber to remove any residue or dirt. It is recommended to clean the inside of the disinfection chamber once every six months for optimal performance.